






Profile Perfect Level 136 Hints & Answer
"The Phone Profile Puzzle" — a four-layer ladder: a one-click answer, hints that scale up, the logic explained, and the complete solution. Take only the layer you need.
Answer
Only here for the answer? Open the panel below and copy the grid into the game — nothing else gets spoiled.
SpoilerReveal the answer grid
| Subject | Subject | Owner | Wallpaper | Case Color | Widget |
|---|---|---|---|---|---|
| Phone A | Billy | Cityscape | Dark Blue | Clock | |
| Phone B | Natasha | Pet | Bright Blue | News / Search Bar | |
| Phone C | Dicky | Beach | Black | Weather | |
| Phone D | Jeremy | Arcade | Green | Music Player | |
| Phone E | Joel | Night Sky | Green | Notes |
Hints
Hints unlock one at a time: open Hint 1, and only then does Hint 2 appear. Stop the moment the case clicks.
Hint 1 Tap to reveal
Start from the phones whose owners are literally shown on the headers, then use distance clues to place the remaining owners.
Hint 2 Tap to reveal
When a row pop-up names a card, treat it as a confirmation: place that card first and wait for the next clue to unlock.
Video walkthrough
Watch the full solve: the board, the clue cards, and every placement in order — each step below is anchored to the moment it happens in the run.
-
1 Set the first three owners: A, E, D 0:00 – 0:04
Lock in the owners that are known from the header and the distance clue.
Drag Billy to Phone A's Owner slot, Joel to Phone E's Owner slot, and Jeremy to Phone D's Owner slot.
-
2 Place Dicky on C and Arcade on D 0:04 – 0:08
Use the closer-to-Jeremy clue and D's high-score wallpaper to fill the next owner and wallpaper.
Drag Dicky to Phone C's Owner slot and Arcade wallpaper to Phone D's Wallpaper slot.
-
3 Set B as Natasha, A as Cityscape, E as Night Sky 0:08 – 0:14
Place the header-confirmed owner and two wallpapers separated by the Clock widget.
Drag Natasha to Phone B's Owner slot, Cityscape to Phone A's Wallpaper slot, and Night Sky to Phone E's Wallpaper slot.
-
4 Set A's case and Clock, B's Bright Blue case 0:14 – 0:20
Confirm A's case and widget, then use Billy's neighbor to give B the bright case.
Drag Dark Blue to Phone A's Case Color slot, Bright Blue to Phone B's Case Color slot, and Clock to Phone A's Widget slot.
-
5 Set B's widget and D's widget 0:20 – 0:26
Use the 'right of' wallpaper rules to choose the two remaining widget positions.
Drag the News / Search Bar card to Phone B's Widget slot and Music Player to Phone D's Widget slot.
-
6 Set C's Black case and Weather widget 0:26 – 0:32
Use the bright-case position clue to finish C's case, then fill C's leftover widget.
Drag Black to Phone C's Case Color slot and Weather to Phone C's Widget slot.
-
7 Fill the remaining wallpapers, green cases, and E's Notes 0:32 – 0:40
Finish the grid from leftovers and confirm the 14/14 clue count.
Drag Pet to Phone B's Wallpaper slot, Beach to Phone C's Wallpaper slot, Green to Phone D's Case Color slot, Green to Phone E's Case Color slot, and Notes to Phone E's Widget slot. All 20 slots are filled.
Key moments
Three frames from the winning run: the opening board, mid-solve, and the completed grid.
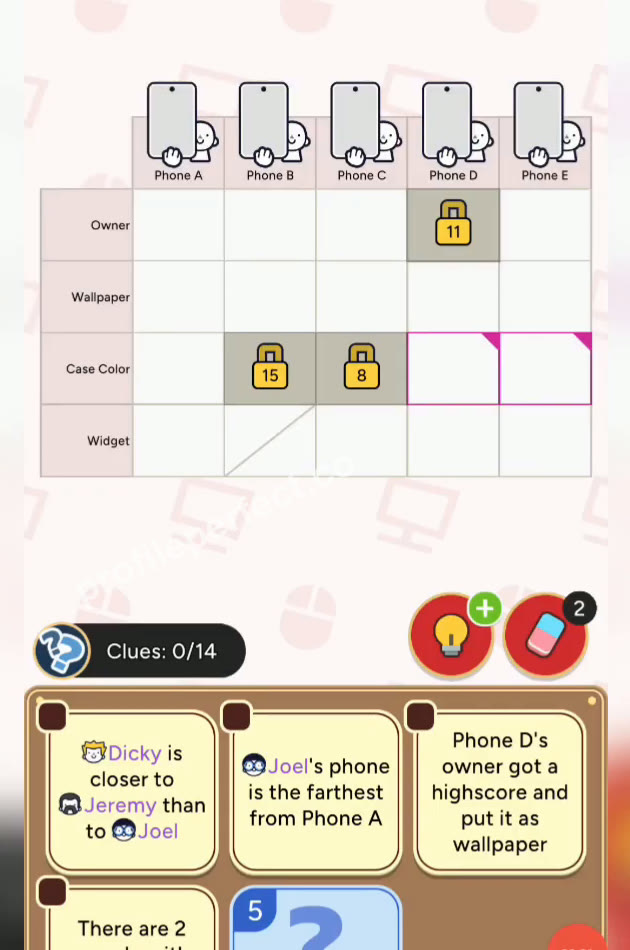
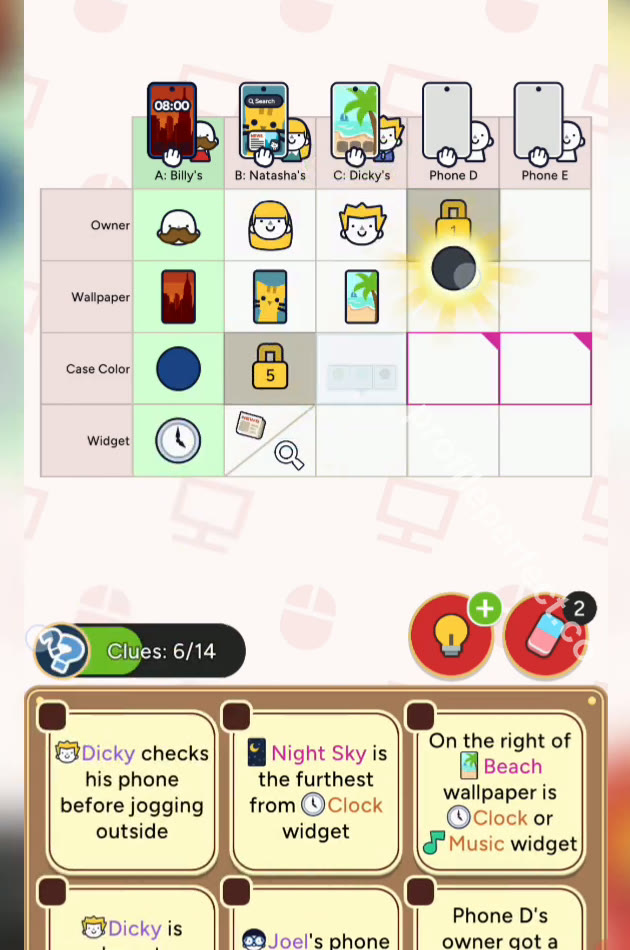
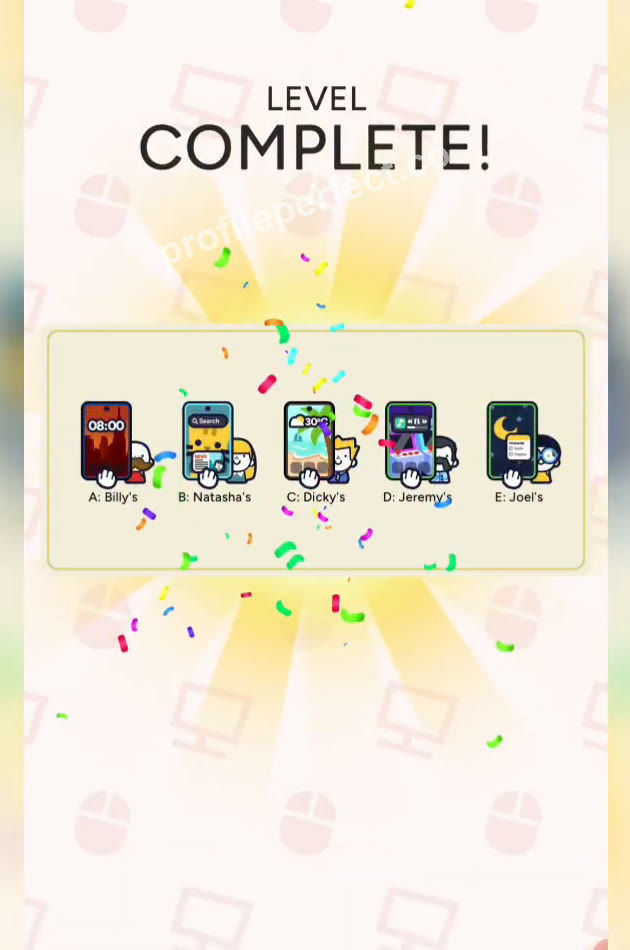
Trickiest clues
Don't rush D's wallpaper
D's owner is tied to a high score, but that only places Jeremy in Step 1. The Arcade wallpaper pop-up appears after Dicky goes on C, so if you drag Arcade too early, later pop-ups won't line up.
Check Billy's actual neighbor
The clue 'Billy's neighbor does not like dark mode' sounds positional, but Billy is on Phone A, so the only phone adjacent to him is B. Lock the A-E order first, then assign Bright Blue to B.
Final check
By the end, every placement was confirmed by a pop-up or a leftover, so the last phase felt like elimination rather than guesswork. Distance and neighbor clues only pay off if you keep the A-E order visible, because 'right of' and 'furthest from' depend on that row. The green cases on D and E were a good reminder to finish the wallpapers before the final widget. Fill the last card and the 14/14 clue count proves the grid is complete.
Categories in this level
Every board mixes everyday categories. Browse the ones this puzzle draws from — each links to every level that features it.
Frequently asked questions
What is the answer to Profile Perfect Level 136?
This page has the complete Level 136 "The Phone Profile Puzzle" answer grid, kept inside a spoiler guard — open it and copy it into the game, or start from the layered hints if you want to solve it yourself first.
How many hints are there for Profile Perfect Level 136?
Three, in rising strength: a gentle nudge, the key clue called out, then the decisive step. Hints unlock one at a time, so you can stop as soon as the case clicks.
How to solve Profile Perfect Level 136 without boosters?
Follow the step-by-step section: anchor the direct clues first, sweep negative clues for eliminations, then chain the positional and comparison clues. Level 136 is fully solvable without spending a single booster.
Why did I lose a life on Profile Perfect Level 136?
A tap on an unproven pairing burns an attempt. The Tricky Clues list on this page covers the exact cells players mis-tap on this board — double-check them before you commit.
Is Profile Perfect Level 136 hard?
The "The Phone Profile Puzzle" board sits at the expected difficulty for this stretch: a fair clue count with one or two easily misread wordings. Following the hint order keeps it comfortable.
What level comes after Profile Perfect Level 136?
Level 137. Use the previous / next buttons at the bottom of this page, or hop back to the full level index to browse by number.